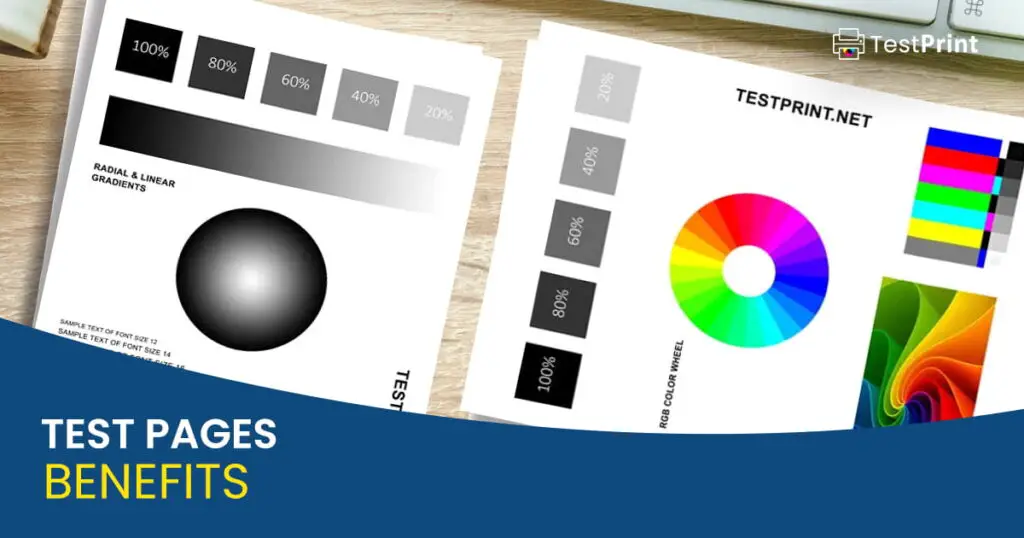
Printing test pages on a regular basis can be an important part of maintaining a printer. By regularly printing test pages and addressing any problems that are identified, you can help ensure that your printer is operating at its best and producing high-quality prints.
It can also help extend the life of the printer by identifying and fixing problems before they become more serious.
In addition to identifying problems, test pages can also be used to calibrate the printer and ensure that it is producing prints with accurate colors and reasonable resolution.
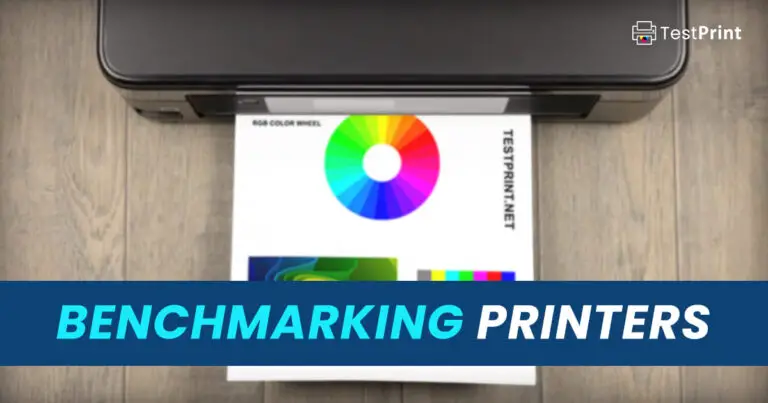
Following are the superb benefits that one can enjoy by regularly printing a test page for the sake of their printer’s maintenance.
Benefits of Printing Test Pages
Identifies Ink Clogging
Printing a test page can help identify ink clogs in the printer nozzle, but it does not necessarily prevent them from occurring. Ink clogs can be caused by a variety of factors, such as using the printer infrequently, using low-quality ink or toner, or storing the printer in an environment with high humidity.
To help prevent ink clogs, it is recommended to use the printer regularly and to use high-quality ink or toner. It is also a good idea to store the printer in a dry, temperature-controlled environment.
Printing test pages regularly can help identify any issues that may be developing before you print the important documents. Keep running multiple test pages unless the toner particles start becoming smooth and lose the blurriness and smearing. It is suggested to run a test page at least once a week to prevent ink logging.
If you still notice ink clogs, you can try running the printer’s cleaning cycle to try and clear them. Some printers also have a manual nozzle cleaning function that can be used to try and clear clogs. If these methods do not work, it may be necessary to disassemble the printer and clean the nozzles physically.
Determines Proper CMYK Usage
The majority of the printers come with CMYK (cyan, magenta, yellow, and black) colors for providing eye-popping colored prints. However, it is essential to keep a regular check on all the color cartridges. Running a test page from time to time saves all toner cartridges from drying out and ensures proper flow.
If any of the colors on the printed test page do not match the reference image or chart, it could indicate that there is an issue with the way those colors are being printed. This could be caused by a problem with the printer, the printer’s software, or the ink or toner being used.
Identifying these issues early on and rectifying them can save you from printing out dozens of irregular documents.
Checks for Rainbow Bars
Often, printer prints on areas that are meant to stay blank. This is caused by ink bleeding and is known as rainbow bars. When printing a test page, you can easily identify these rainbow bars and prevent important documents from getting ruined.
There are several steps you can take to prevent bleeding ink on black spots in your printer.
- Make sure you use the correct type of cartridge, ink, or toner for your printer. Different printers may require specific types of ink or toner to function correctly. Using the wrong kind of ink or toner can cause problems with print quality, including bleeding ink. To find the correct cartridge or toner information, refer to the printer’s user manual or the manufacturer’s website.
- Clean the print head on your printer. The print head is responsible for depositing ink onto the page, and it can become clogged with dried ink over time. This can cause problems with print quality, including bleeding ink. To clean the print head, you can use a print head cleaning solution specially designed for the purpose, or follow the instructions provided by the printer’s manufacturer.
- If the ink or toner in your printer is low or has been in use for a long time, it may not be able to produce high-quality prints. Replacing the cartridge, ink, or toner can help prevent rainbow bars and other issues with print quality.
Prevents Alignment Issues
Misalignment of prints means that the prints are coming out a bit tilted or inconsistent with the edges of the paper.
Alignment issues can be caused by a variety of factors, such as physical damage to the printer, problems with the printer driver or software, or issues with the printer’s hardware. Running the test pages from time to time allows the users to determine any issues ahead of time.
Since it helps you to pinpoint the problem before it becomes anything serious, alignment issues are often prevented by regular test page printing. Especially if you print one just before printing out your important documents.
Helps Calibrate The Printer
Because of infrequent use, the ink in the cartridges can become thick, causing calibration issues. To prevent this from happening, running a test page regularly is an ideal practice. Here is how to do it.
- Check the printer’s manual for specific instructions on calibrating the printer. Some printers have a built-in calibration function that you can use.
- Make sure that you have the latest printer driver and firmware installed on your computer. This will ensure that you have access to the latest calibration options.
- Print a test page using the default print settings. This will give you a baseline to compare against after you’ve made adjustments.
- Adjust the print settings as needed. This may include settings like changing the print resolution, color balance, or other settings.
- Print another test page and compare it to the first one. If the printed output matches the intended design, the printer is calibrated. If not, continue adjusting the print settings until you achieve the desired results.
- Save the calibrated print settings as a new print profile so that you can use them again in the future.
Determines Ink Flow and Identifies Leaks
The proper flow of ink is vital for numerous reasons, such as text, graphics, and color blocks, which are designed to test a printer’s ability. The appropriate flow produces clean, crisp lines, smooth gradations, and accurate color reproduction.
Sometimes, the printer’s ink doesn’t flow smoothly or can leak. This can result in faded prints, blank spots, or sometimes even color spots on black-and-white prints. With frequent test page printing, you can easily pinpoint and save the original document from these issues.
- Print and examine the test page for any problems with the ink flow. Look for solid, even blocks of color and check for banding or streaking.
- If you identify any problems with the ink flow, adjust the printer settings.
- Print another test page to check whether the printed output looks better than the first one or not. Continue till you achieve the desired results before printing out any important documents.
If you cannot fix the ink flow issues by adjusting the printer settings, the problem may be caused by something other than software settings. This could include things like clogged nozzles, low ink levels, or damaged ink cartridges. In these cases, you may need to clean the nozzles, replace the ink cartridges, or contact a professional for repair.
Checks for Radial Gradients
Starting from a single point, the radial gradients involve a smooth transition of color from the center of the gradient, outward. They are often used in printing to create a sense of depth or to add visual interest to an image.
For the perfect radial gradient, the amount of ink applied decreases as the distance from the center of the gradient increases, creating a smooth transition from one color to another.
Running a test page also helps to ensure that the radial gradients are working well for colored as well as black-and-white prints or not. Follow the steps.
- Print a test page that includes a radial gradient. The test page should include a solid, circular area in the center of the gradient, with a smooth transition to a different color at the outer edges, or even fading to no color at all.
- Examine the printed test page for any issues with the gradient. For example, look for banding, which is a series of parallel lines or bands that appear inside the gradient. You should also look for any areas where the color does not transition smoothly from the center to the outer edges.
- If you identify any problems with the gradient, try adjusting the printer settings until a smooth, seamless gradient is achieved.
Here are some specific printer settings that you may want to adjust to improve the quality of your radial gradients:
- Print resolution: Increasing the print resolution may help reduce banding and improve the smoothness of the gradient.
- Color balance: Adjusting the color balance may help improve the accuracy of the colors in the gradient.
- Ink levels: Ensuring that the ink levels are sufficient may help improve the quality of the gradient.
- Print head alignment: If the print head is misaligned, it may cause problems with the gradient. Adjusting the print head alignment may help improve the quality of the gradient.
Helps Achieve Accuracy
No matter what you are printing, if the content isn’t accurate, it won’t look appealing to the eyes. There could be a variety of text blocks, grids, graphs, and scales, inside the content that must print clearly as the intended design.
As you run a test page, it can help you identify whether the accuracy of the printer is impacted over time or not. It is advised to print a design that contains text blocks, grids, and graphs so you can determine all issues in one go.
To determine the accuracy of your printer’s output, you can print a test page. Here are the steps to do this:
-
On a Windows PC, press CTRL + Shift + P shortcut keys to open the print menu using the system dialog.
-
Click “More settings.”

Open more printer settings -
Inside the Printer Preferences window, switch to the “Services” tab.

Switch to the Services tab -
Under the Print information pages section, select “Demo page,” and then click Print.

Print a demo page -
Visually inspect the test page for print quality.
Once the test page has been printed, visually inspect it for any issues with the print quality. Pay attention to the overall sharpness of the text and graphics, as well as any issues with color accuracy or banding.
-
If you notice any issues with the print quality, adjust your printer’s settings or perform maintenance on the printer to improve the accuracy of its output.
Pinpoints Software Issues
An outdated software or driver is one of the major reasons that impact the overall printer’s performance. This can happen when you leave the device unused for a long time and miss out on important updates.
A variety of issues can occur because of outdated software. For example, incorrect or distorted printing, compatibility issues with newer operating systems or applications, slower print speeds, and error messages or warnings.
If you encounter any of these problems when printing a test page, check if the drivers for your printer are up to date or not.
Since updating takes some time, checking it through test page printing helps in smooth operation when you actually want to print something important.
By identifying and addressing the aforementioned issues, you can help extend the life of the printer and save money on costly repairs or replacement parts.