In today’s digital era, printers, particularly those from HP, have become essential tools in both office and home environments. Equipped with advanced features and sophisticated software, these devices deliver high-quality prints and offer a range of functionalities to make our daily tasks easier. However, in order to ensure the uninterrupted and smooth operation of an HP printer, understanding its software and knowing how to check the ink levels are fundamental. This discourse aims to elucidate the process of detecting ink levels on your HP printer, whether you are using Windows or Mac OS, and guides you through the essential tools that HP provides, like the HP Solution Center and HP Print and Scan Doctor.
Understanding HP Printer Software
Understanding Your HP Printer Software
To effectively check your printer’s ink levels, it’s essential to understand the software that accompanies your HP Printer. HP Printer software often includes utilities such as the HP Solution Center or the HP Print and Scan Doctor, both which can be used to monitor the status, including ink levels, of your printer.
Exploring HP Solution Center

HP Solution Center is a Windows software program for HP Printers. It came with many HP printers manufactured before 2011. After opening the program, you can check your HP printer ink levels quickly. Follow the steps below:
- Click on the “Start” button on your computer, then choose “All Programs.”
- Scroll through the list and click on “HP Solution Center.” If you can’t find this program, your printer model might not have been equipped with it.
- Once the HP Solution Center is open, click on the ‘Settings’ option.
- In this menu, select ‘Print Settings.’
- From there, choose ‘Printer Toolbox.’
- In the Printer Toolbox, you should see an option for ‘Estimated Ink Levels.’ This will present a visual representation of your current ink levels in the printer.
Navigating HP Print and Scan Doctor

HP Print and Scan Doctor is a free tool provided by HP to diagnose and resolve printing and scanning problems. This tool can also be used to check ink or toner levels. To use this tool:
- Download HP Print and Scan Doctor, and then follow the prompts to install and open the tool.
- On the Welcome screen, click ‘Start’ to view a list of available printers.
- Select your printer in the list, and then click ‘Next.’
- Click either ‘Fix Printing’ or ‘Fix Scanning.’
- In the list of results, find ‘Ink Levels’ or ‘Toner Level.’ The tool should then display the levels of ink remaining in your printer cartridges.
Please note that the printer must be on and connected to the computer for these steps to provide accurate results. If you’re still unsure, feel free to contact HP customer service for more detailed assistance.
Use of Windows to check ink levels
Finding the Printer Ink Levels
Locating and verifying the ink levels in your HP printer is a straightforward process on a Windows PC. Below are the step-by-step instructions:
- Access Control Panel:
To start, click on the Windows icon, typically located in the lower left corner of your screen. From the menu that appears, select ‘Control Panel’ to open the Control Panel window. - Go to Devices and Printers:
In the Control Panel window, look for ‘Devices and Printers’ and click on it. This option may be found under the ‘Hardware and Sound’ category depending on the specific view settings of your Control Panel. - Locate Your Printer:
Upon clicking ‘Devices and Printers’, you will see a list of all the devices connected to your PC. In the ‘Printers’ section, locate the icon for your HP printer. It may be identifiable by its model name. - Check Printer Properties:
Right-click on your HP printer’s icon, and from the dropdown menu, select ‘Properties’. In different versions of Windows, this could also be labelled as ‘Printer Properties’ or ‘Preferences’. - Check Ink Levels:
A new window will open with various tabs relating to your printer’s settings and status. Look for a tab labelled ‘Services’, ‘Maintenance’, or something similar, and click on it. From here, select ‘View Estimated Ink Levels’ or the comparable option. This will display the current levels of ink in your HP printer.
Remember, the exact wording might be slightly different per the specific model of your HP printer, and the version of your Windows OS.
Understanding the Results
It’s important to note that the displayed ink level is an estimated value and might not accurately reflect the exact ink level. If your printer uses individual cartridges for each color, the reading will show the levels for each cartridge. When your printer alerts you about low ink, consider replacing the cartridge soon to ensure continued printing ability.
Regular checks on your HP printer’s ink levels enable you to plan your printing tasks efficiently and avoid disruptions.

Checking ink levels on Mac OS
Locating your Printer in System Preferences
To locate your printer on your Mac, follow these steps:
- Click the Apple menu at the top of your screen.
- From the drop-down list, select ‘System Preferences’.
- Within the ‘System Preferences’ window, locate the ‘Print & Scan’ or ‘Printers & Scanners’ option and click on it.
- This list will show all the printers that are connected to your Mac. Select the HP printer you wish to check the ink levels for.
Checking Ink Levels on HP Printer
Once you have located your printer, you can proceed to check the ink levels on your HP printer:
- With your printer chosen in the ‘Printers & Scanners’ section, click on ‘Options & Supplies’.
- New window will appear, click the ‘Supply Levels’ tab.
- Here, you should be able to see the different ink cartridges for your printer and their respective ink levels. Each ink cartridge will have its own indicator.
Please note the ink levels displayed here are estimated and it’s recommended to also manually check your printer’s ink levels when possible.
Manual Inspection of Printer Ink Levels
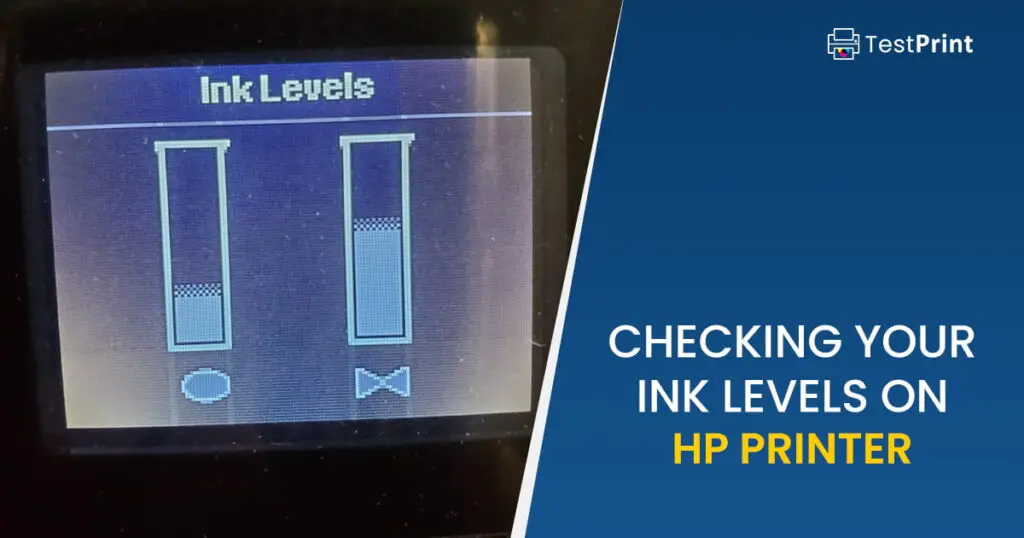
If you wish to manually check the printer ink levels, refer to the user manual of your specific HP printer model. Many HP printers have an option on the printer screen that allows you to display the ink levels. Other HP printers may have a procedure where you open the front panel where the ink cartridges are stored to visually inspect the ink levels.

Mastering the basics of printer maintenance, like checking ink levels, not only prolongs the life of your printer but also guarantees superior print quality and performance, saving you money and time in the long run. From understanding the utility of your printer’s software to navigating the settings on both Windows and Mac OS, this guide covers everything you need to become adept at monitoring your HP printer’s ink levels. Keeping these tips in mind will help you ensure your printer’s optimal functionality and enable you to handle routine printer concerns better. Start your journey towards becoming an expert in managing your HP printer’s resources today, and you will always be prepared for your printing tasks, be it personal or professional.