By printing a test page, you can check that the printer produces high-quality output, that all colors are printing correctly, and that there are no errors or problems with the printer. Sometimes, your printer gets stuck in a loop where it continuously prints a test page.
If you also encounter similar issues with your printer, here are some simple ways to troubleshoot it.
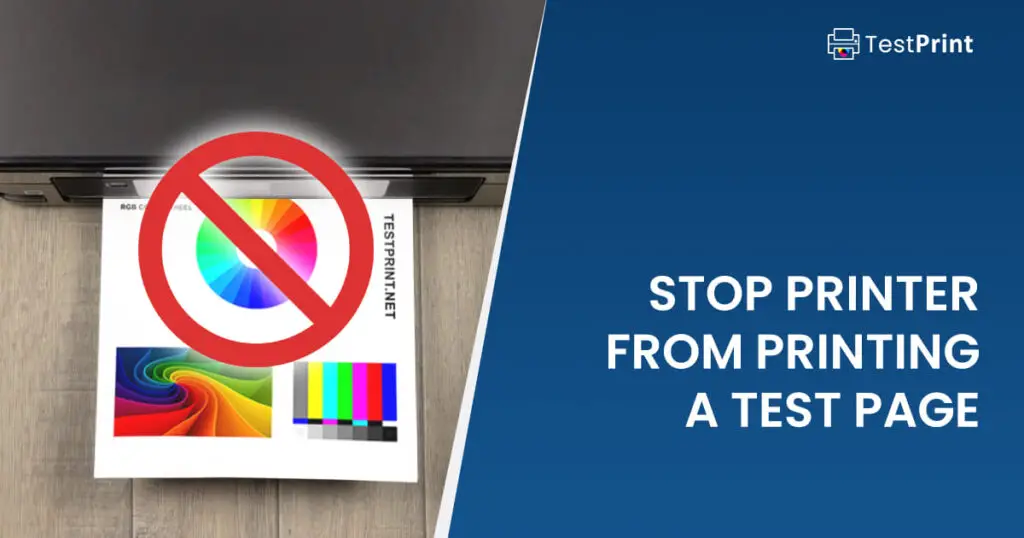
Stop All Printers from Printing Test Pages
Here are a few tried and tested solutions to stop your printer from printing test pages. These methods not only work for test page errors, but also for various other printer issues.
Restart Your PC And Printer
Many technical errors are sometimes resolved with a solution as simple as restarting your device. You don’t know which one is the root cause of the trouble. Therefore, your first resort should be restarting both devices involved in the printing process.
Follow these steps to restart your printer:
-
Turn off your printer.
-
Disconnect it from the power source.
This can usually be done by unplugging the printer from the wall outlet or by turning off the power strip or surge protector that the printer is plugged into.
-
Wait a few minutes.
-
Connect the printer back to the power source.
-
Turn on your printer.
If the printer has a battery backup, make sure to remove and reinsert the battery during the process as well. This will allow the printer to fully reset.
It’s important to note that restarting a printer will not necessarily fix any issues you may encounter with the printer. However, it can sometimes reset the printer and resolve issues such as test page loop printing, stuck print queue, or connectivity issues.
Clear Printing Queues
The printer queue is a temporary storage area for print jobs. When you send a document to the printer, it is placed in a queue until the printer is ready to print it. The printer processes the jobs in the queue in a first-in, first-out order.
Printer queues can be helpful if you want to send multiple documents to the printer at once and have them print in a specific order.
However, if there are problems with the printer or the print jobs, the queue can become stuck. These issues prevent any further printing from occurring or keep printing a test page.
In such cases, it is necessary to clear the printer queue to resolve the issue.
To clear the printer queue in Windows, follow these steps:
-
Open Windows Services by typing in “services.msc” in the Run Command box.
-
Find the “Print spooler service.”
-
Right-click the service and click “Stop” from the context menu.
-
Navigate to the following using File Explorer.
C:\Windows\System32\spool\PRINTERS
-
Delete all the files in this folder.
-
Go back to the Services console and right-click on the “Print spooler service”, then click “Start.”
To clear the printer queue on macOS, follow these steps:
-
Click on the Apple menu in the top-left corner and select “System Preferences.”
-
Open the “Printers & Scanners” preferences pane.
-
Right-click (or Control-click) on the printer you want to clear the queue for and select “Reset printing system.”
-
Click on the “Reset” button to confirm.
-
Add the printer back by clicking on the “+” button and selecting the printer from the list.
Look for the Error Message on the Printer Control Panel
To find error messages on the printer control panel, you will need to look for a message center, status monitor, or display screen on the printer. This is usually located on the front or top of the printer.
An error message will also help determine if the test page is being printed automatically as a result of a specific event, action, command, or request from your computer or network.
Once you have located the message center, look for any error messages or warning icons that may be displayed. The error message or icon may provide a code or brief description of the issue, which you can then use to troubleshoot the problem.
Error messages are typically displayed on the control panel of the printer, which is usually a display screen with buttons or a touch screen located on the printer itself.
To find these messages on the control panel of your printer, follow these steps:
-
Locate the control panel on your printer.
-
Look for any error messages displayed on the control panel.
This message may indicate the cause of the issue you are experiencing with the printer.
-
If you see an error message, follow the instructions provided to resolve the issue.
If you are unable to resolve the issue or if the error message does not provide any instructions, try referring to the printer’s user manual or contacting the manufacturer for further assistance.
It’s also a good idea to check the printer’s documentation to see if there is a list of error messages and their meanings. This will help you better understand what the error message means and how to resolve the issue.
Still can’t find any error messages or the message center is not displaying anything? Try the following:
- Check to make sure the printer is turned on and properly connected to the power source.
- Check to see if the printer is out of paper or if there is a paper jam.
- Try restarting the PC and the printer as described above.
- Check to see if the printer is connected to your computer or network correctly.
Check for Outdated Printer Drivers
It’s a good idea to keep your printer driver up to date, as newer drivers may fix bugs and improve performance. However, be sure to download drivers from a trusted source and follow any instructions provided by the manufacturer when installing updates.
To check if the printer driver is outdated, you can follow these steps:
-
Open the Device Manager by typing in “devmgmt.msc” in the Run Command box.
-
Expand to “Print Queues.”
-
Right-click on the printer driver and select “Properties.”
-
Switch to the “Driver” tab.
-
Note down the driver version.
-
Open the manufacturer’s website in a web browser and compare the latest available drivers.
If a newer printer driver is available, it means that your currently installed driver is outdated.
It is suggested to update the driver so that the printer gets rid of every kind of issue. Once you have opened the Device Manager and expanded the entries for your printer, follow these simple steps to update it:
-
Right-click on the printer driver and select “Update driver.”
-
Click “Search automatically for updated driver software.”
This will allow Windows to search for the latest driver available and install it automatically.
Alternatively, you can also update the printer driver manually by downloading the latest driver from the manufacturer’s website and installing it yourself. To do this:
-
Go to the manufacturer’s website and search for the latest driver for your printer.
-
Download the driver to your computer.
-
Double-click on the downloaded file to begin the installation process.
-
Follow the instructions provided by the manufacturer to complete the installation.
Print Directly to the Printer
If the above steps do not work, try performing prints directly to the printer. This will allow you to bypass the print queue within the spooler, as well as the printer’s cache, so your prints can go through.
Follow these steps to print directly to the printer:
-
Navigate to the following:
Settings app >> Bluetooth and Devices >> Printers and Scanners
-
Click on the printer you want to troubleshoot.

Select printer -
Click on “More devices and printer settings.”

Open Devices and Printers Applet Devices and Printers applet will now open.
-
Right-click on the printer and click “Printer Properties” from the context menu.

Open printer properties -
Switch to the Advanced tab.

Switch to Advanced tab -
Select “Print directly to the printer” then click Apply and Ok.

Print directly to the printer

Your next prints will now be sent directly to the printer, bypassing the spools and cache.
Note that this is not a solution to the problem, but rather a workaround so that you can still get your desired prints even when the printer is busy printing out its test pages.
Disable Print Test Page at Startup
If your printer is printing a test page at the very beginning each time you power it on, it is likely that the respective settings have been enabled. Some printers have the option to print a test page each time they are powered on. It may be possible that this setting is enabled on your printer.
The “Print test page on startup” setting is usually available through the integrated control panel on the printer. Explore its built-in settings and disable the “Print test page on startup option”
For HP Printers
The issue is most common in HP printers across many of its series. The reasons could be the same for all printers, regardless of the company. If you are also one of the HP users and need to overcome this issue, and none of the aforementioned methods work, try out this solution exclusively for HP printers.
- Open the “Devices and Printers” applet.
- Double-click the HP printer icon.
- Select the “Listing for your test page” option.
- Click on “Cancel.”
- Repeat the process for all test pages.
Stopping a printer from printing a test page can be easy or difficult, depending on the cause of the test page printing. All the solutions shared above are guaranteed to help you fix this issue.
1 comment
Robert Harpole
J’ai essayé tous les méthodes mais la problème avec la impression du test page continue.
“Listing for test page” n’existe pas
English: I have tried all the methods, but the problem with printing the test page continues.
“Listing for test page” does not exist